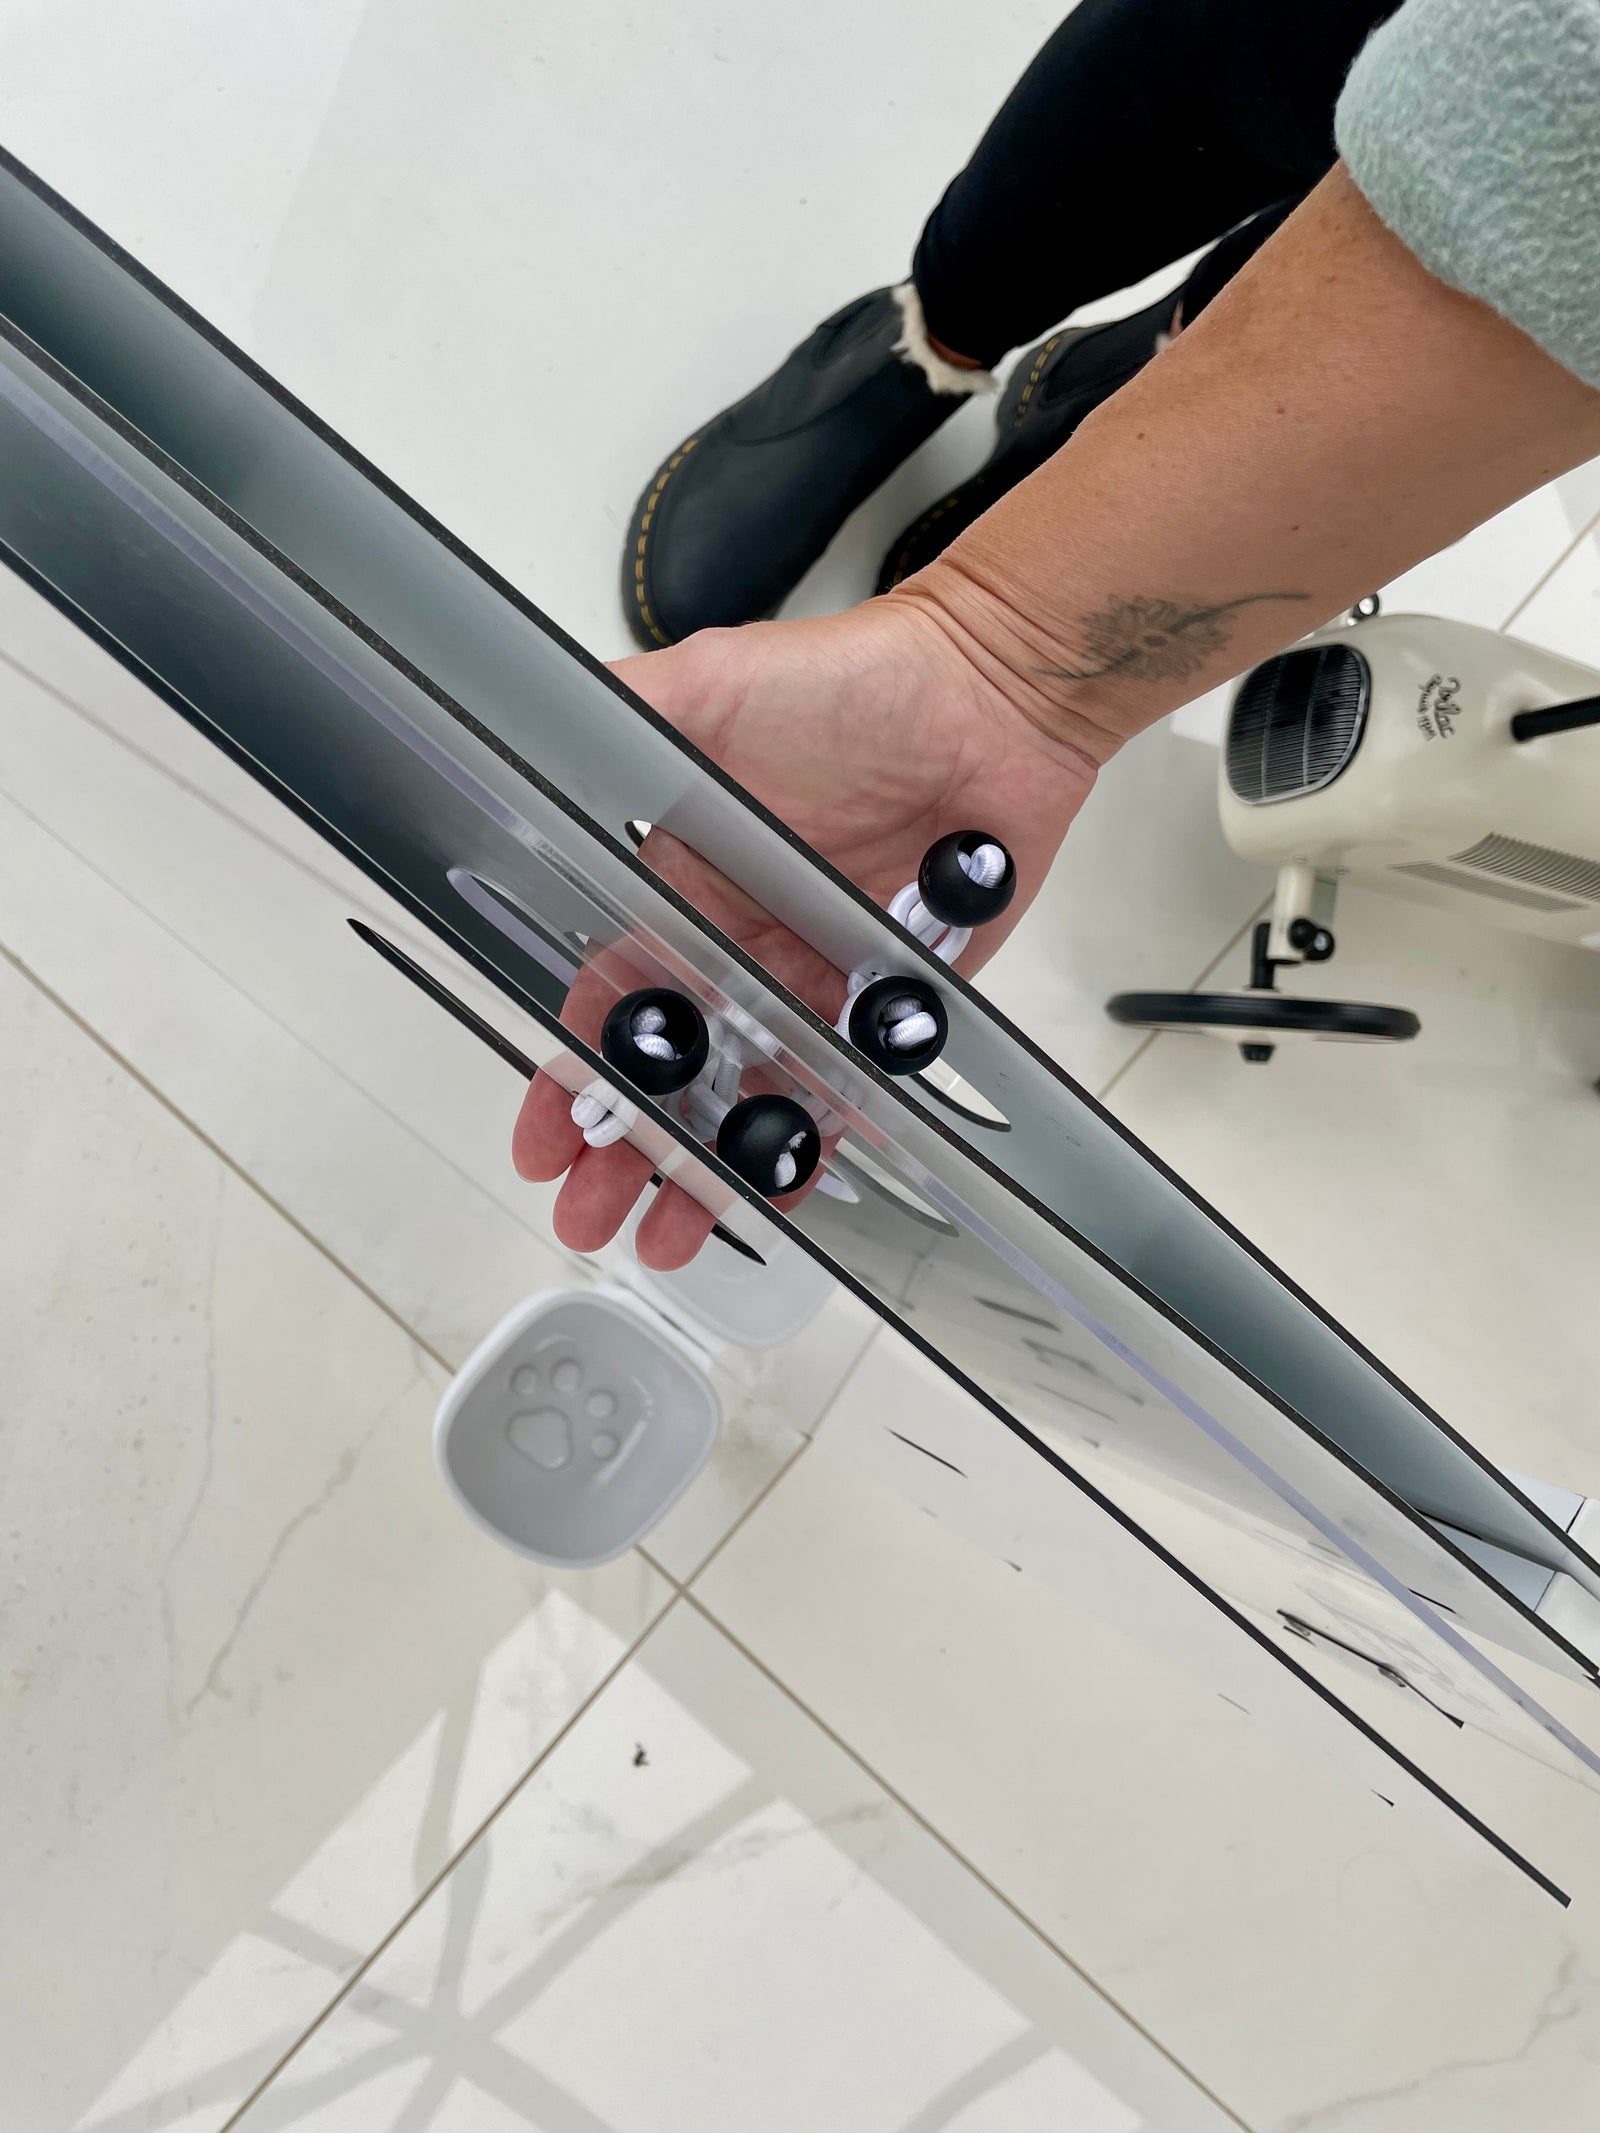
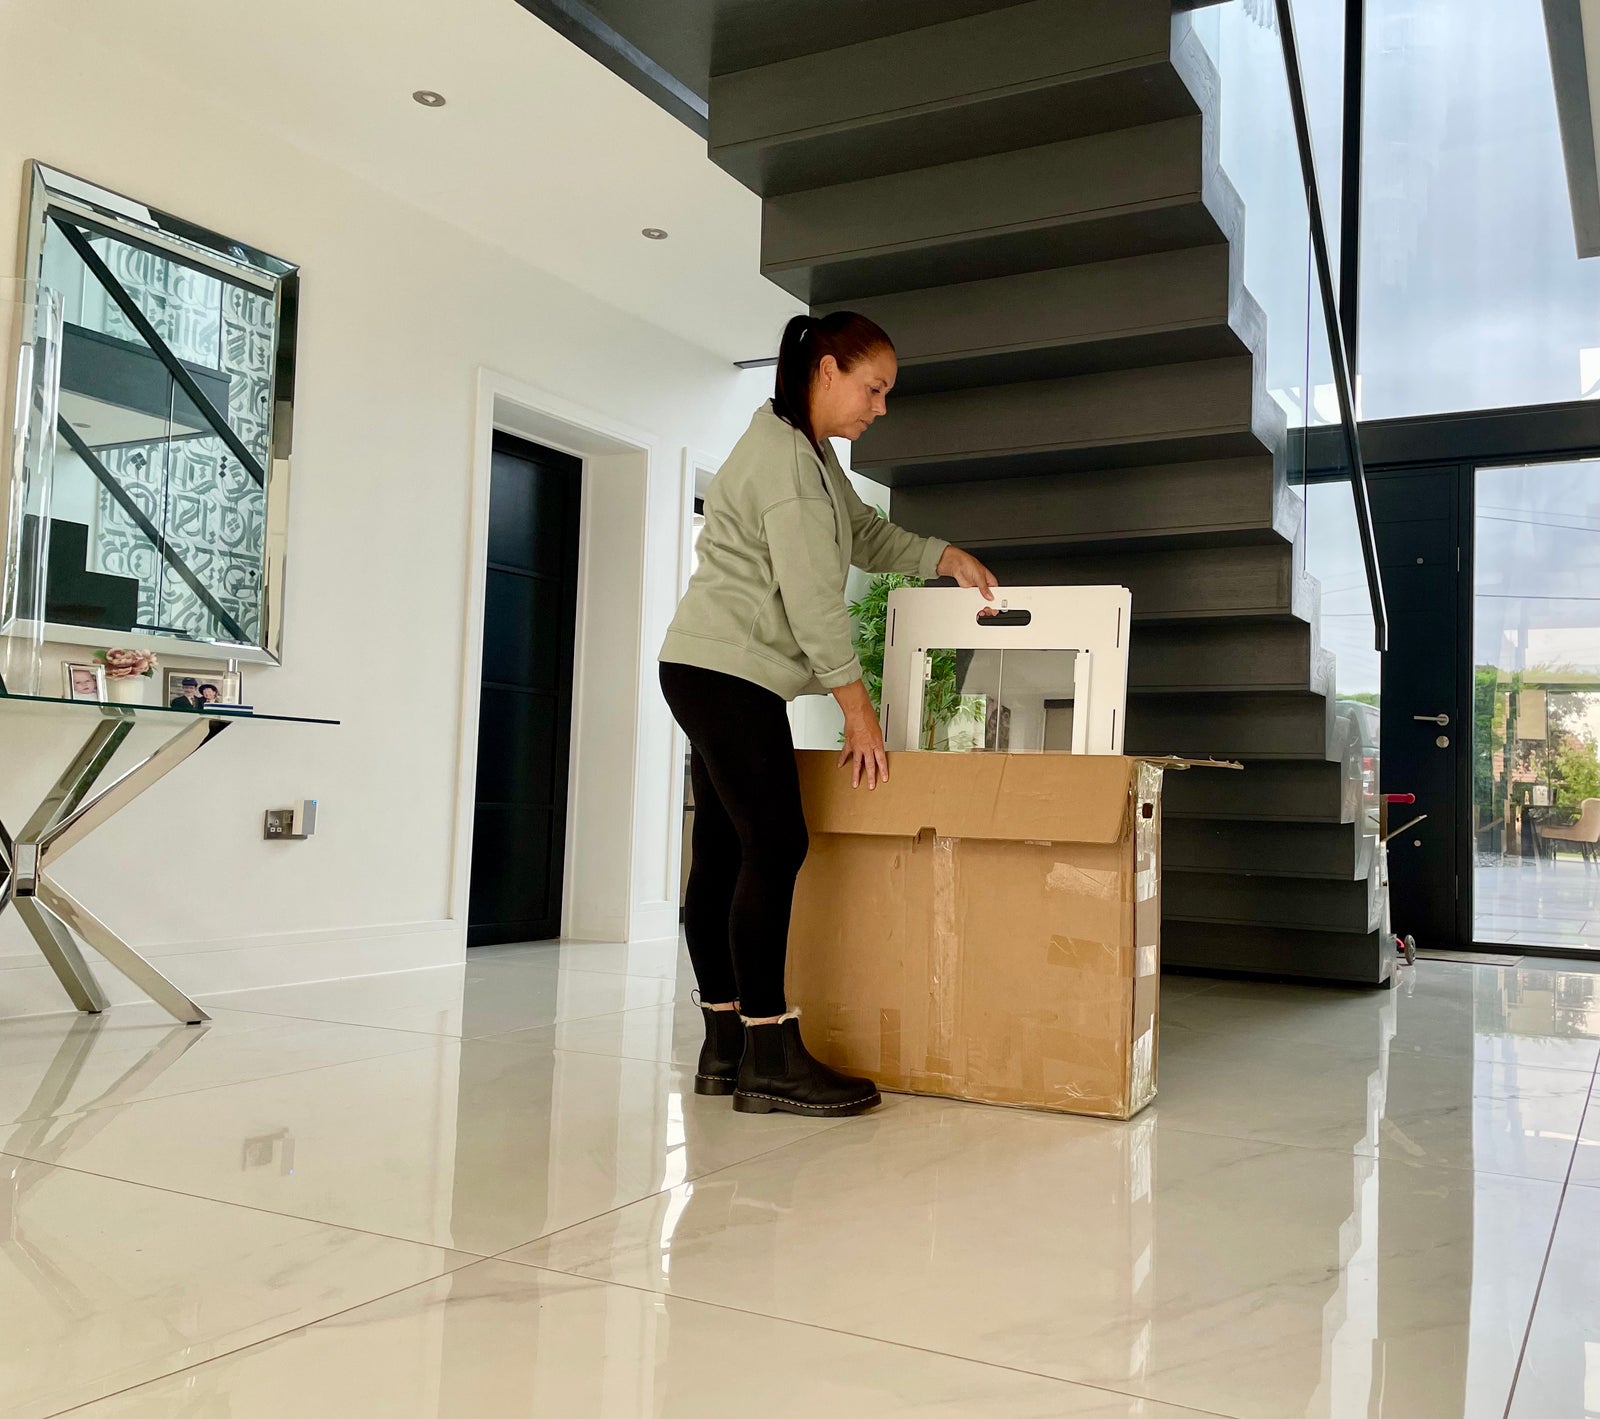
Carefully remove the PetPen panels from the box, avoiding dragging.
How to Assemble your PetPen
You can also scan the QR code on the box or the cover of our booklet to view our instructions video.
Unpack Panels
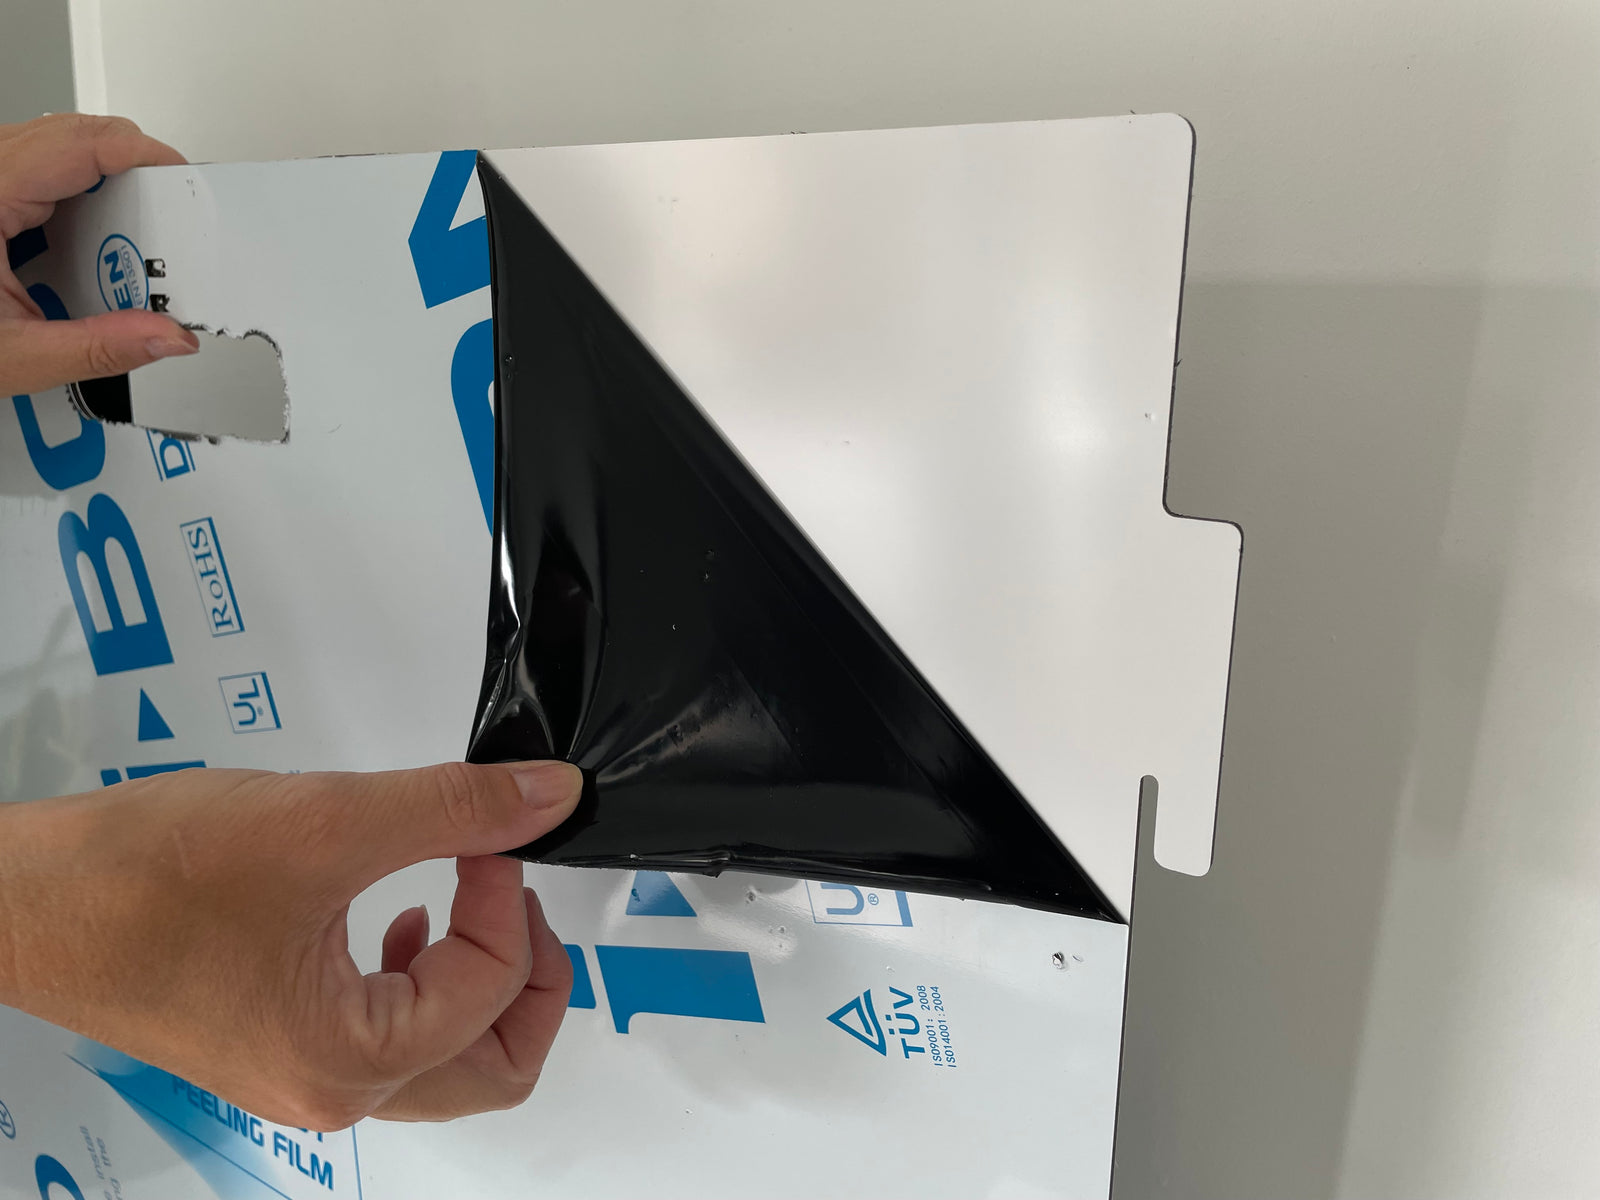
Remove Protective Film
Peel off the protective film from both sides of each panel and set them aside.
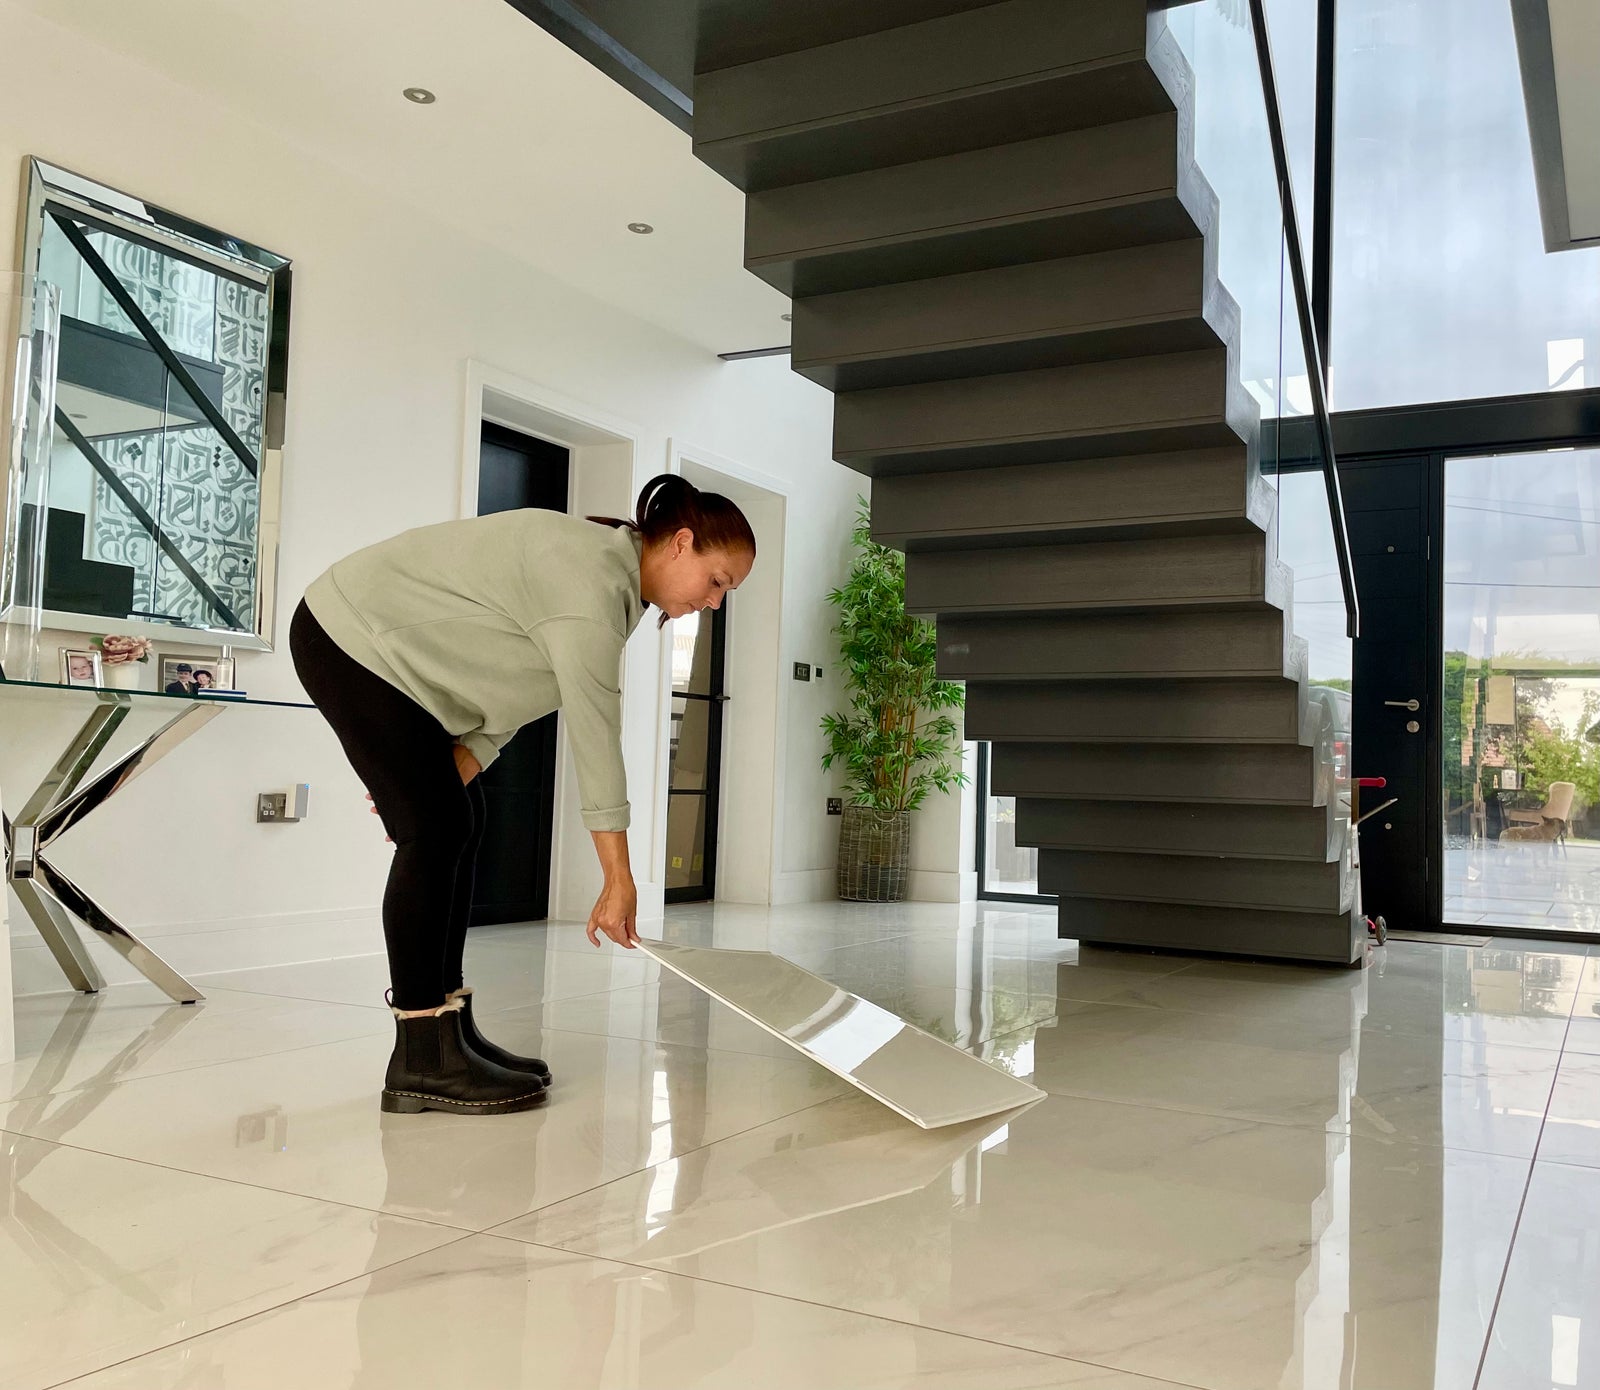
Place Base
Lay the white base on the floor with the grooves facing up.
Position End Panels
Decide where you want the doorway and place the window/doorway panels accordingly.
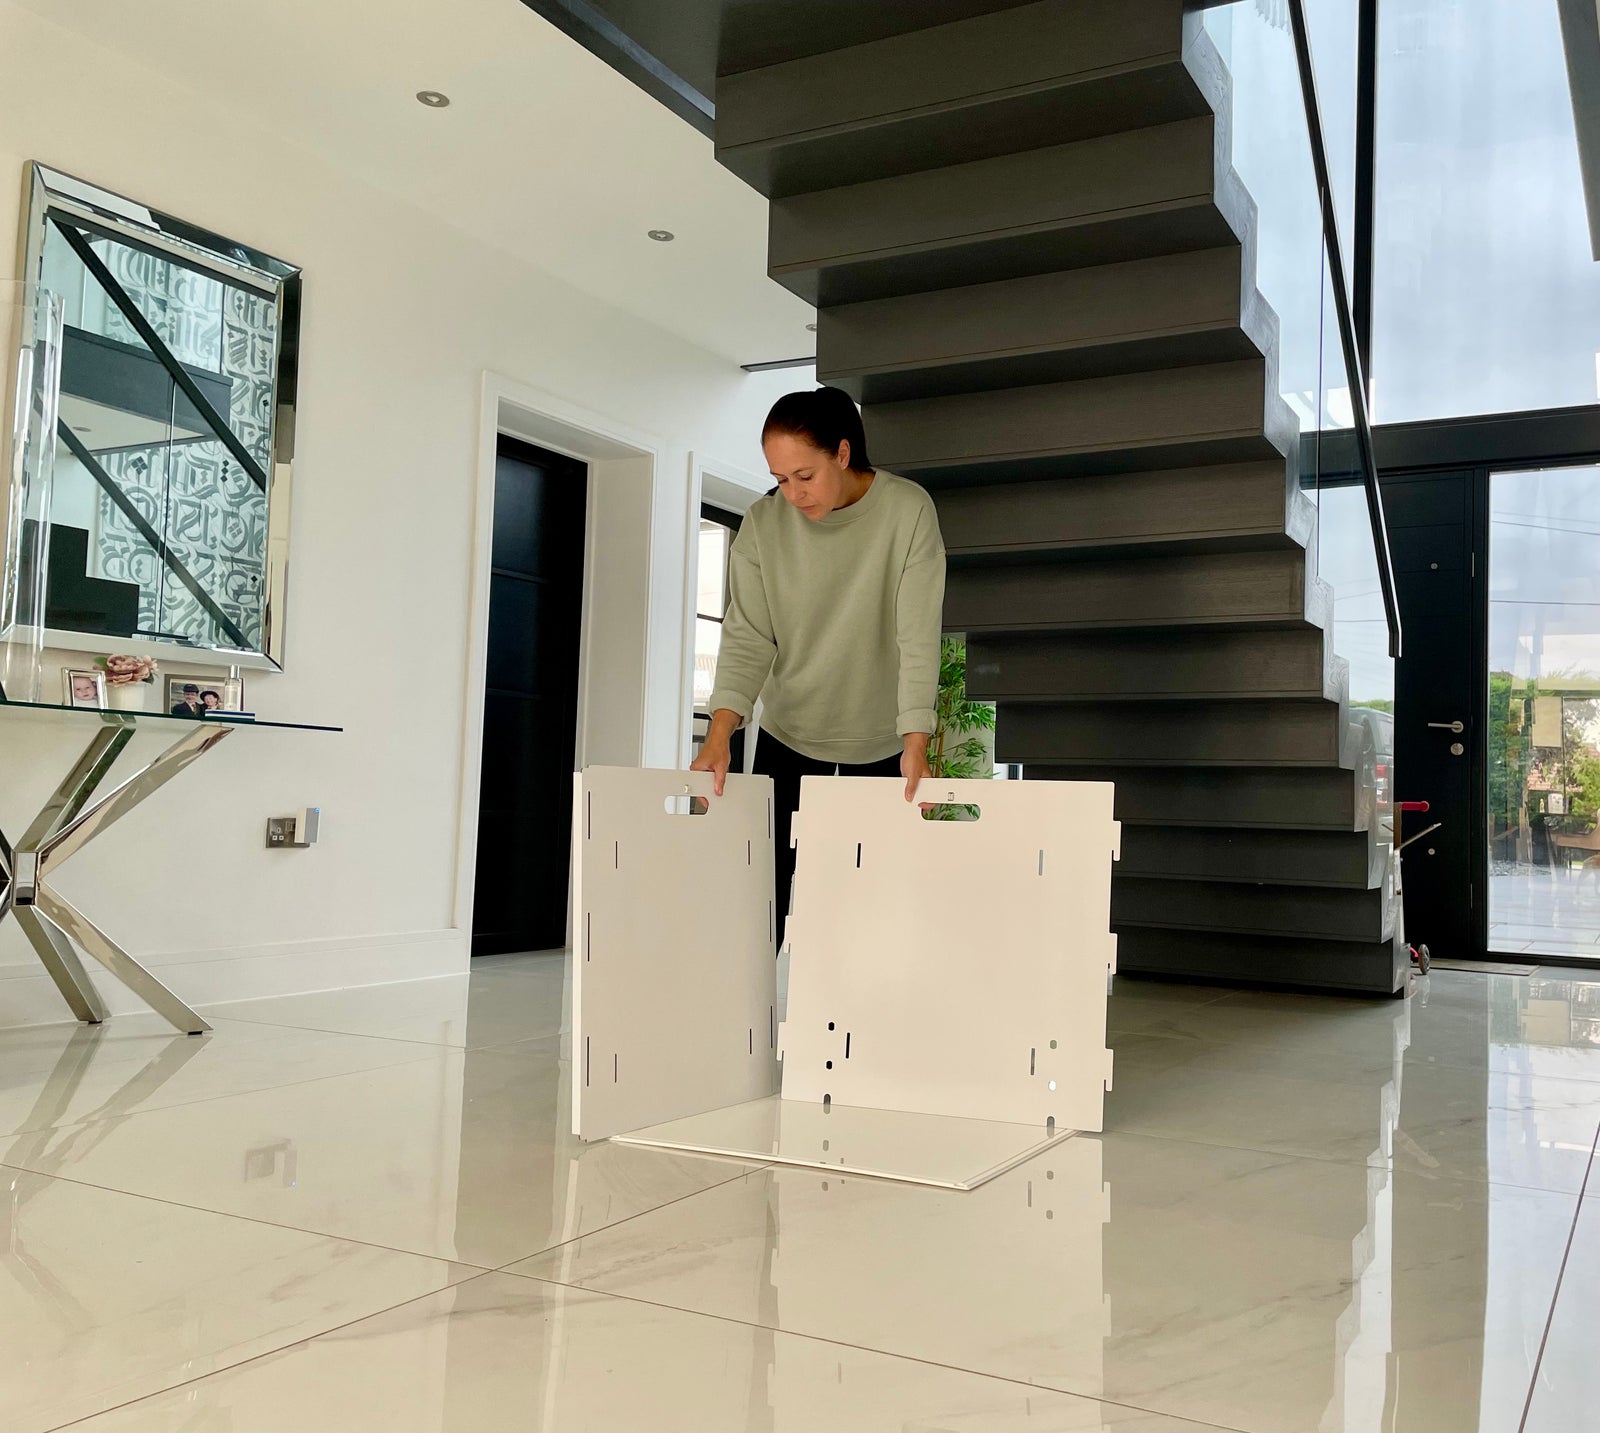
Attach End Panels
Place the end panel on the floor with the tab protectors facing outside. Align the rear panel tabs with the slots on the end panel and insert them to lock into position. Repeat for both sides.
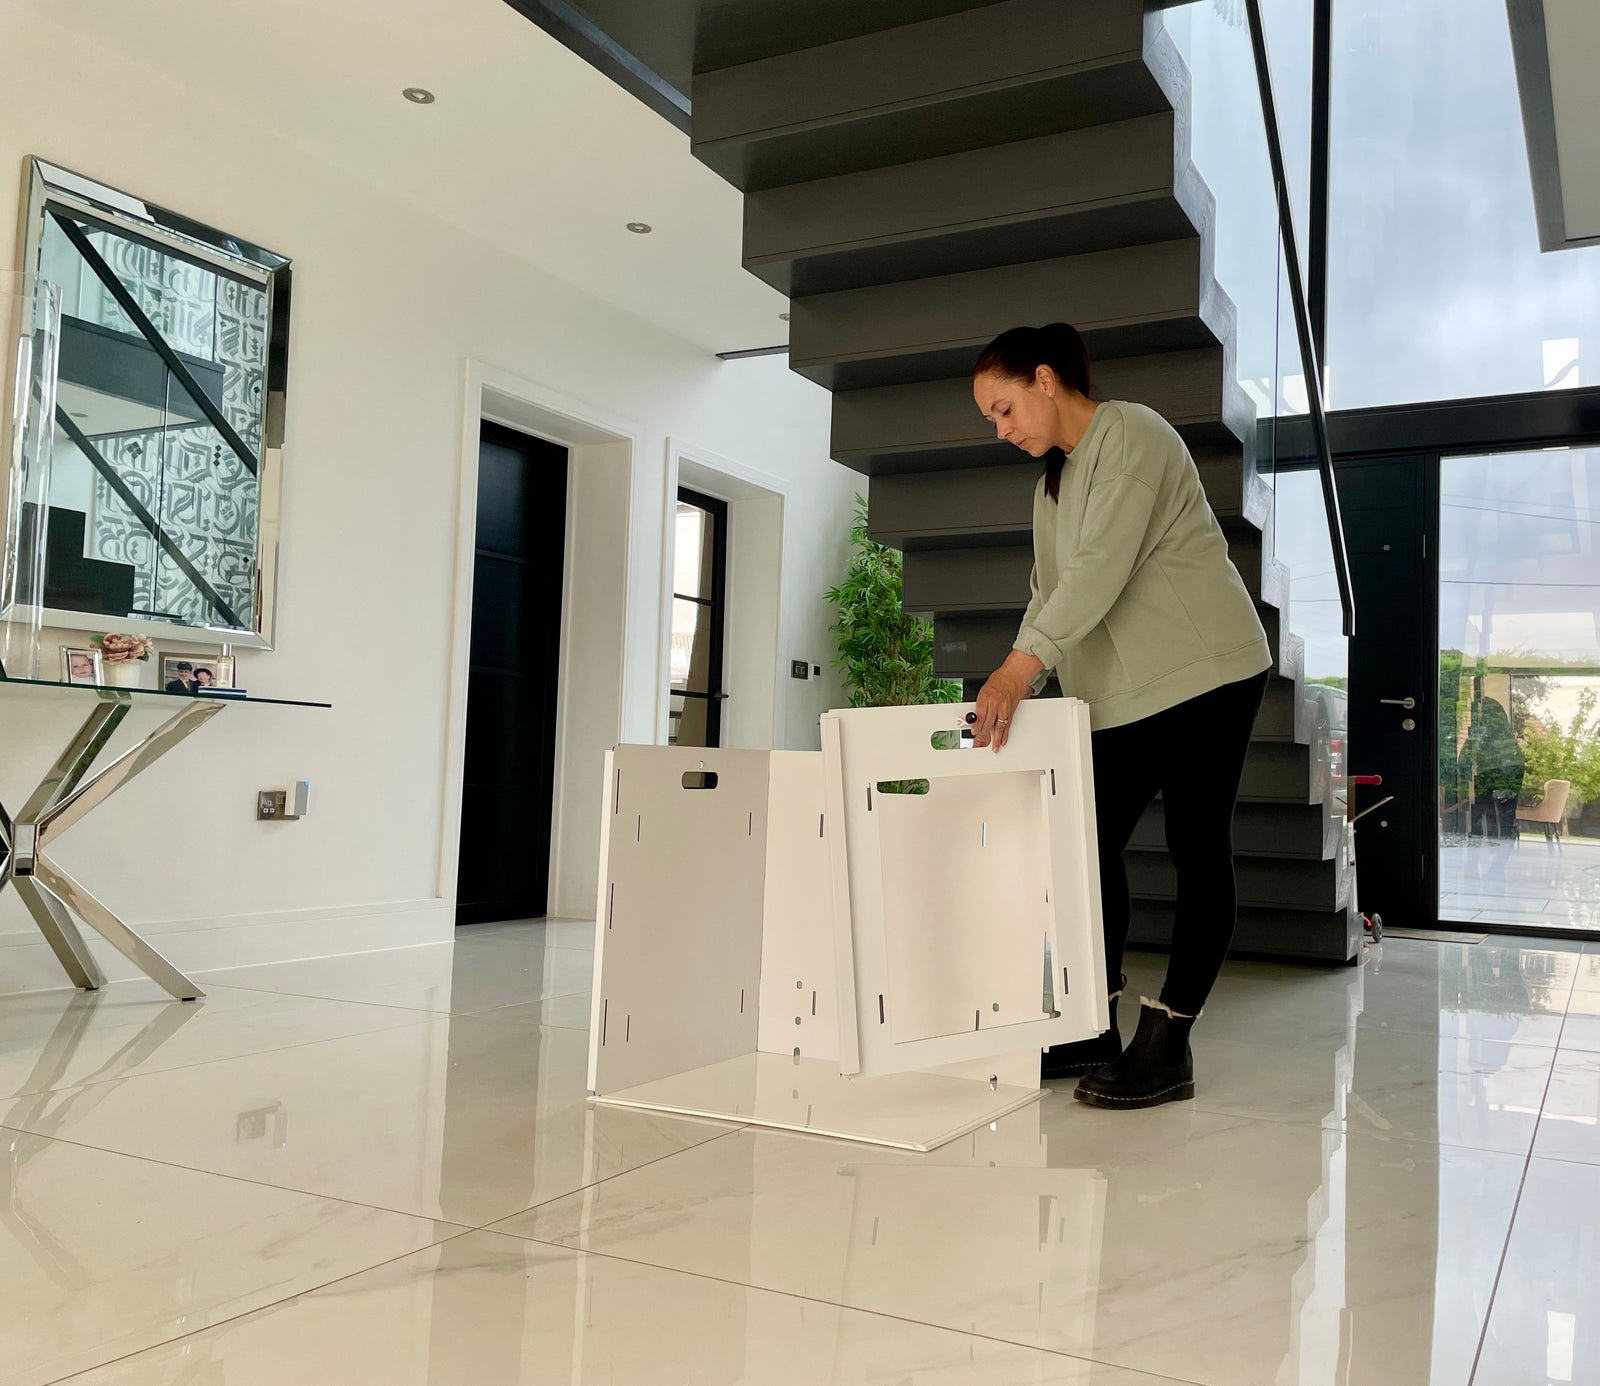
Add Front Panel
Lift the "L" shaped section onto the base and slot them into the corresponding grooves. Repeat with the clear front panel.
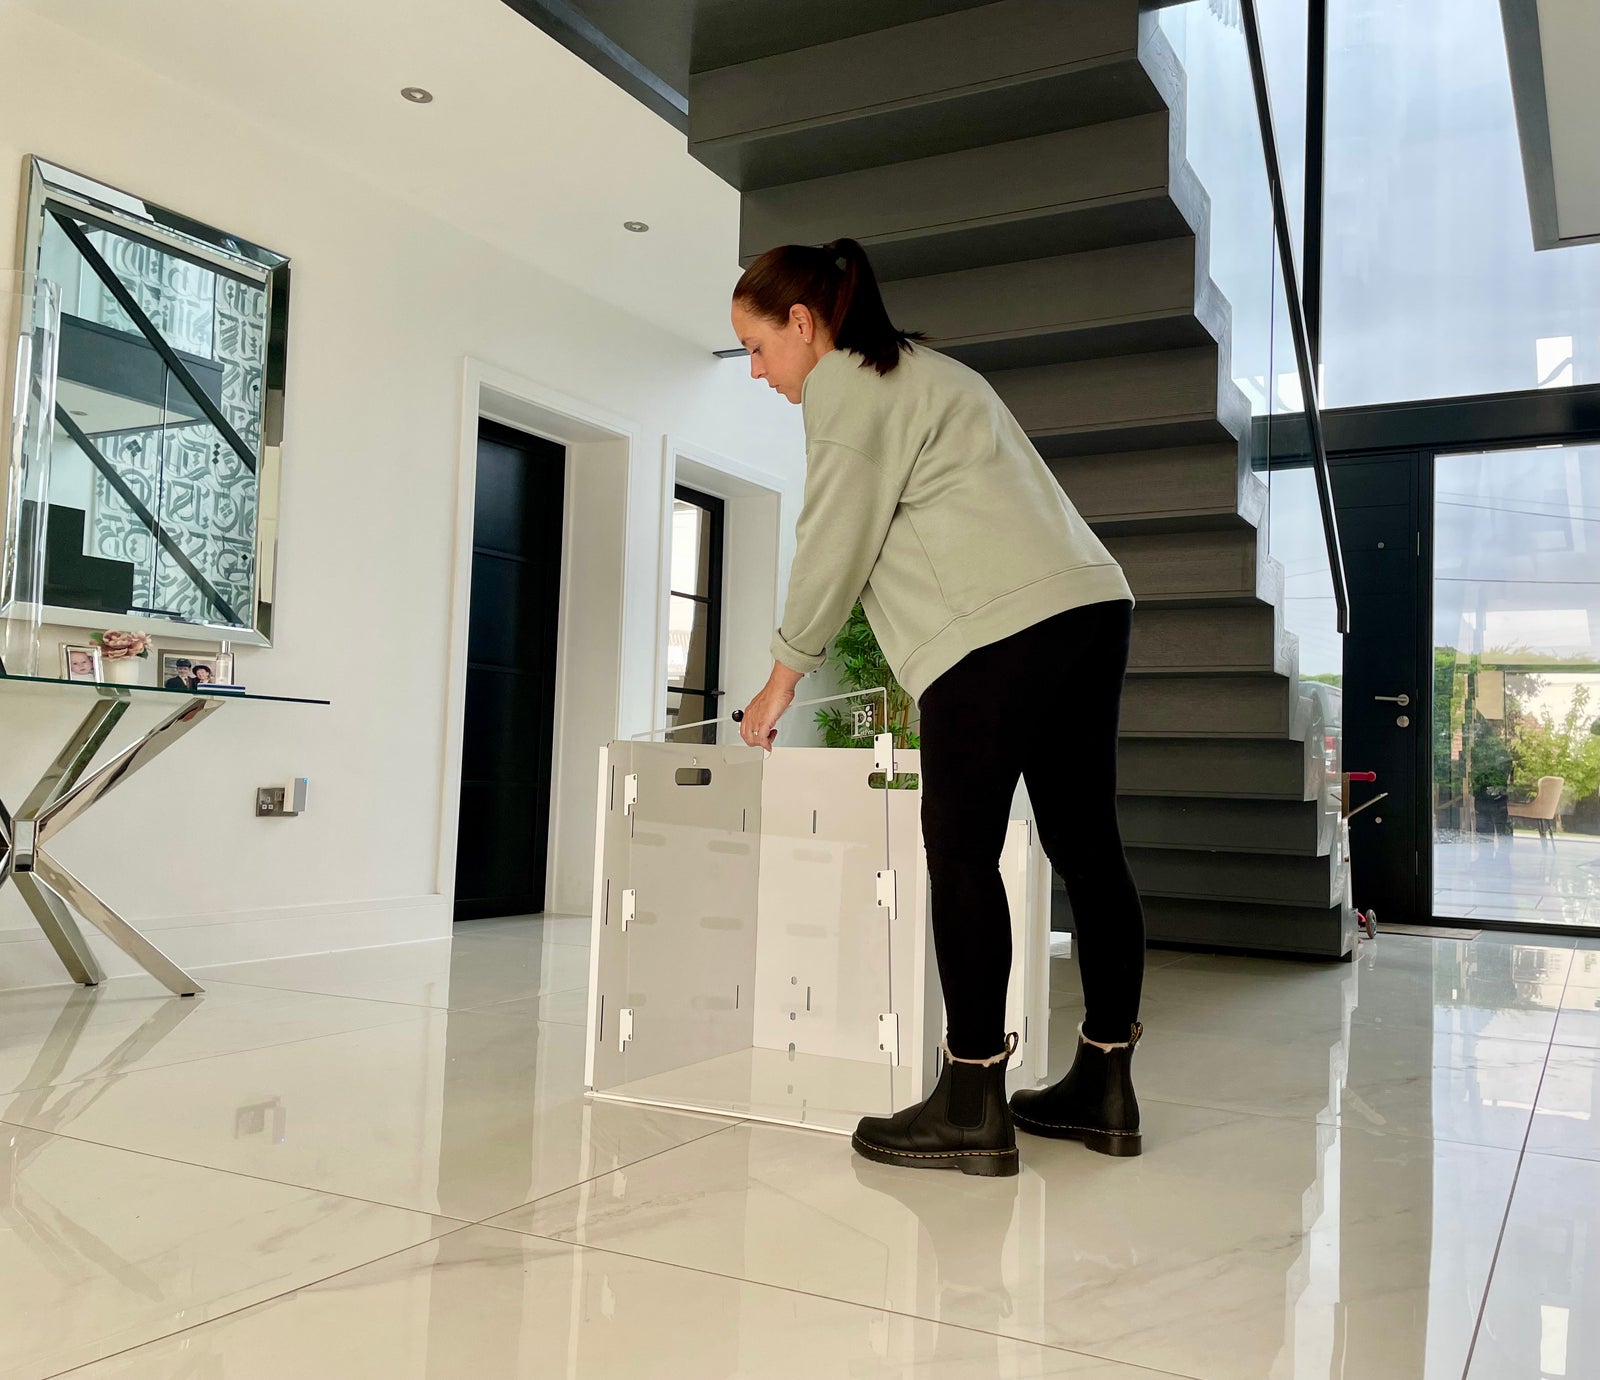
Add Vented Top Panel
Place the top panel on the vertical panels and into the grooves.
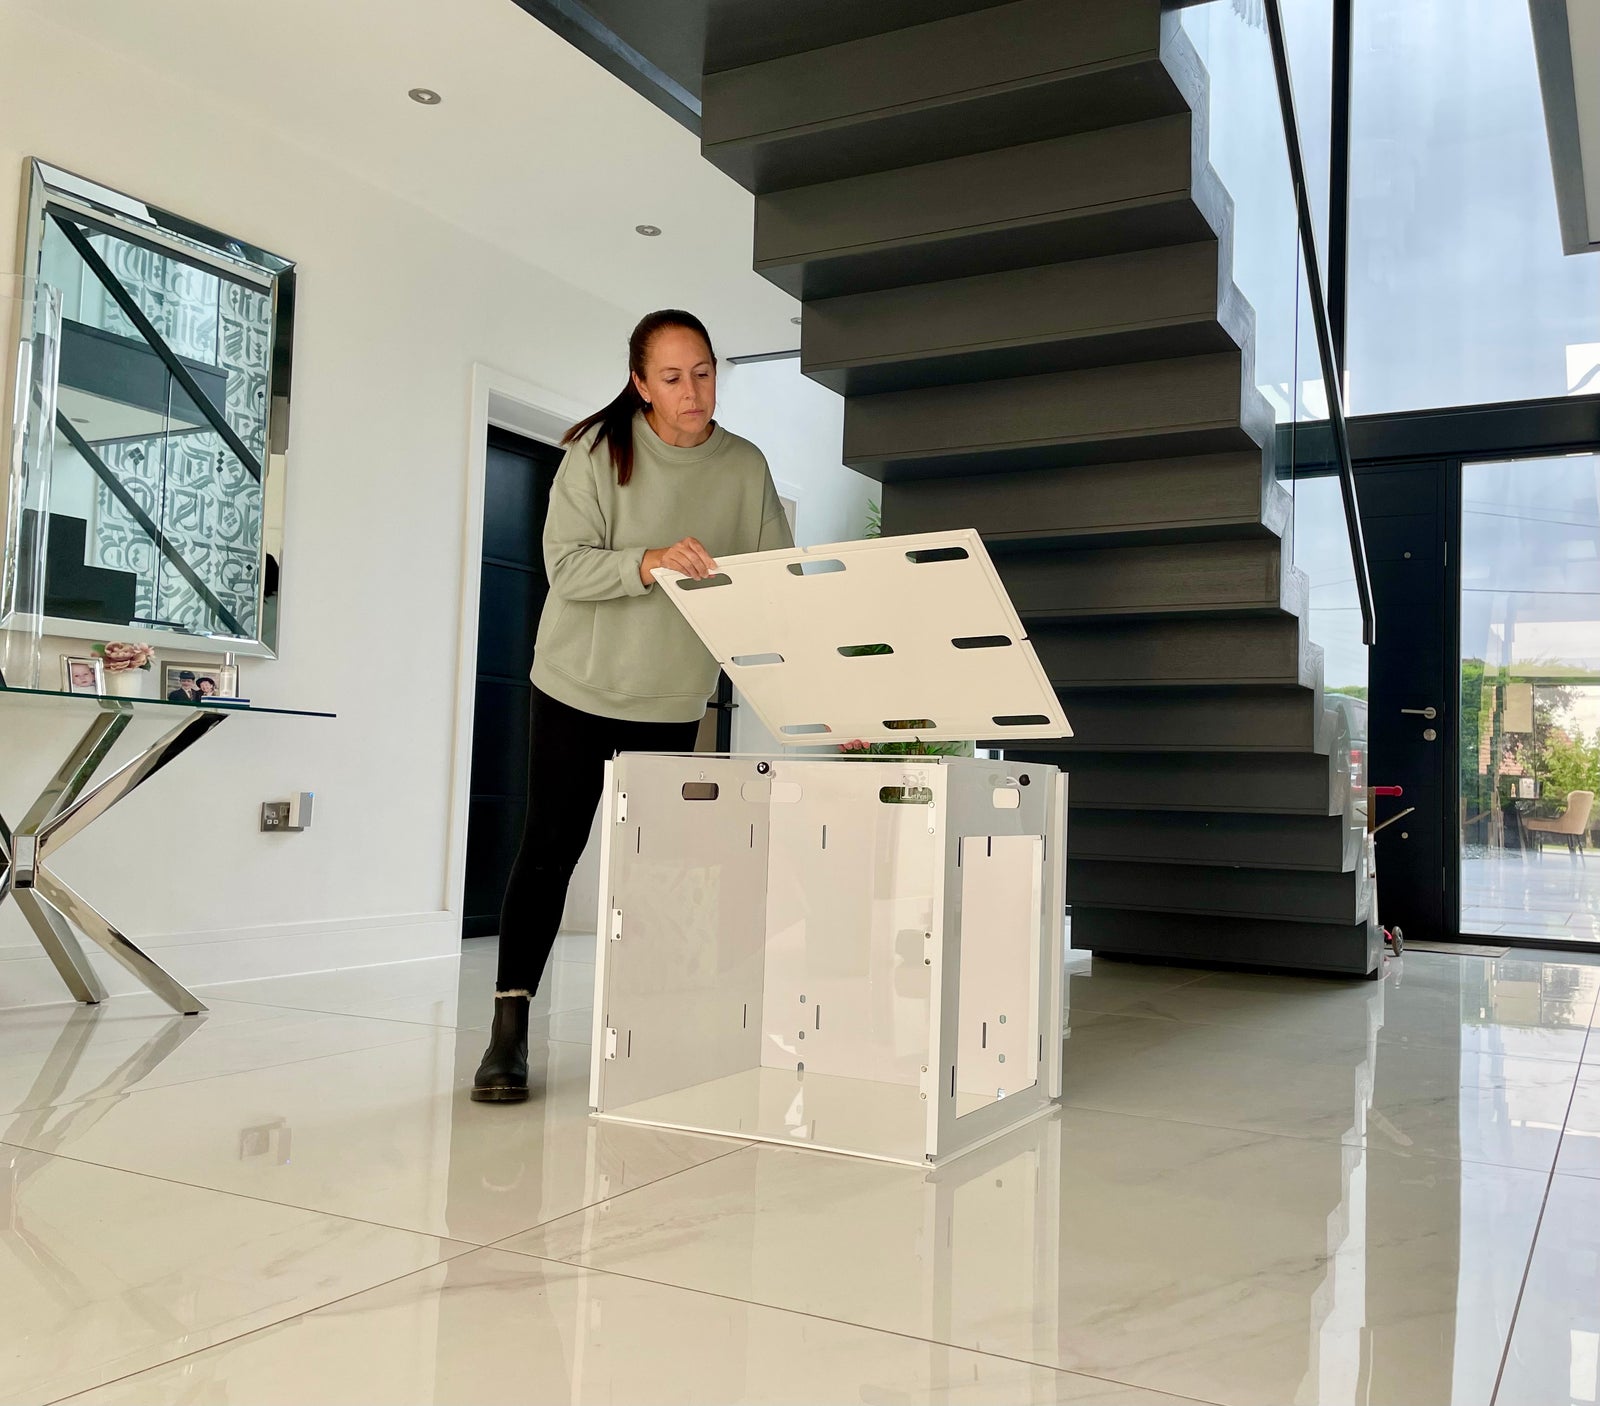
Secure Top
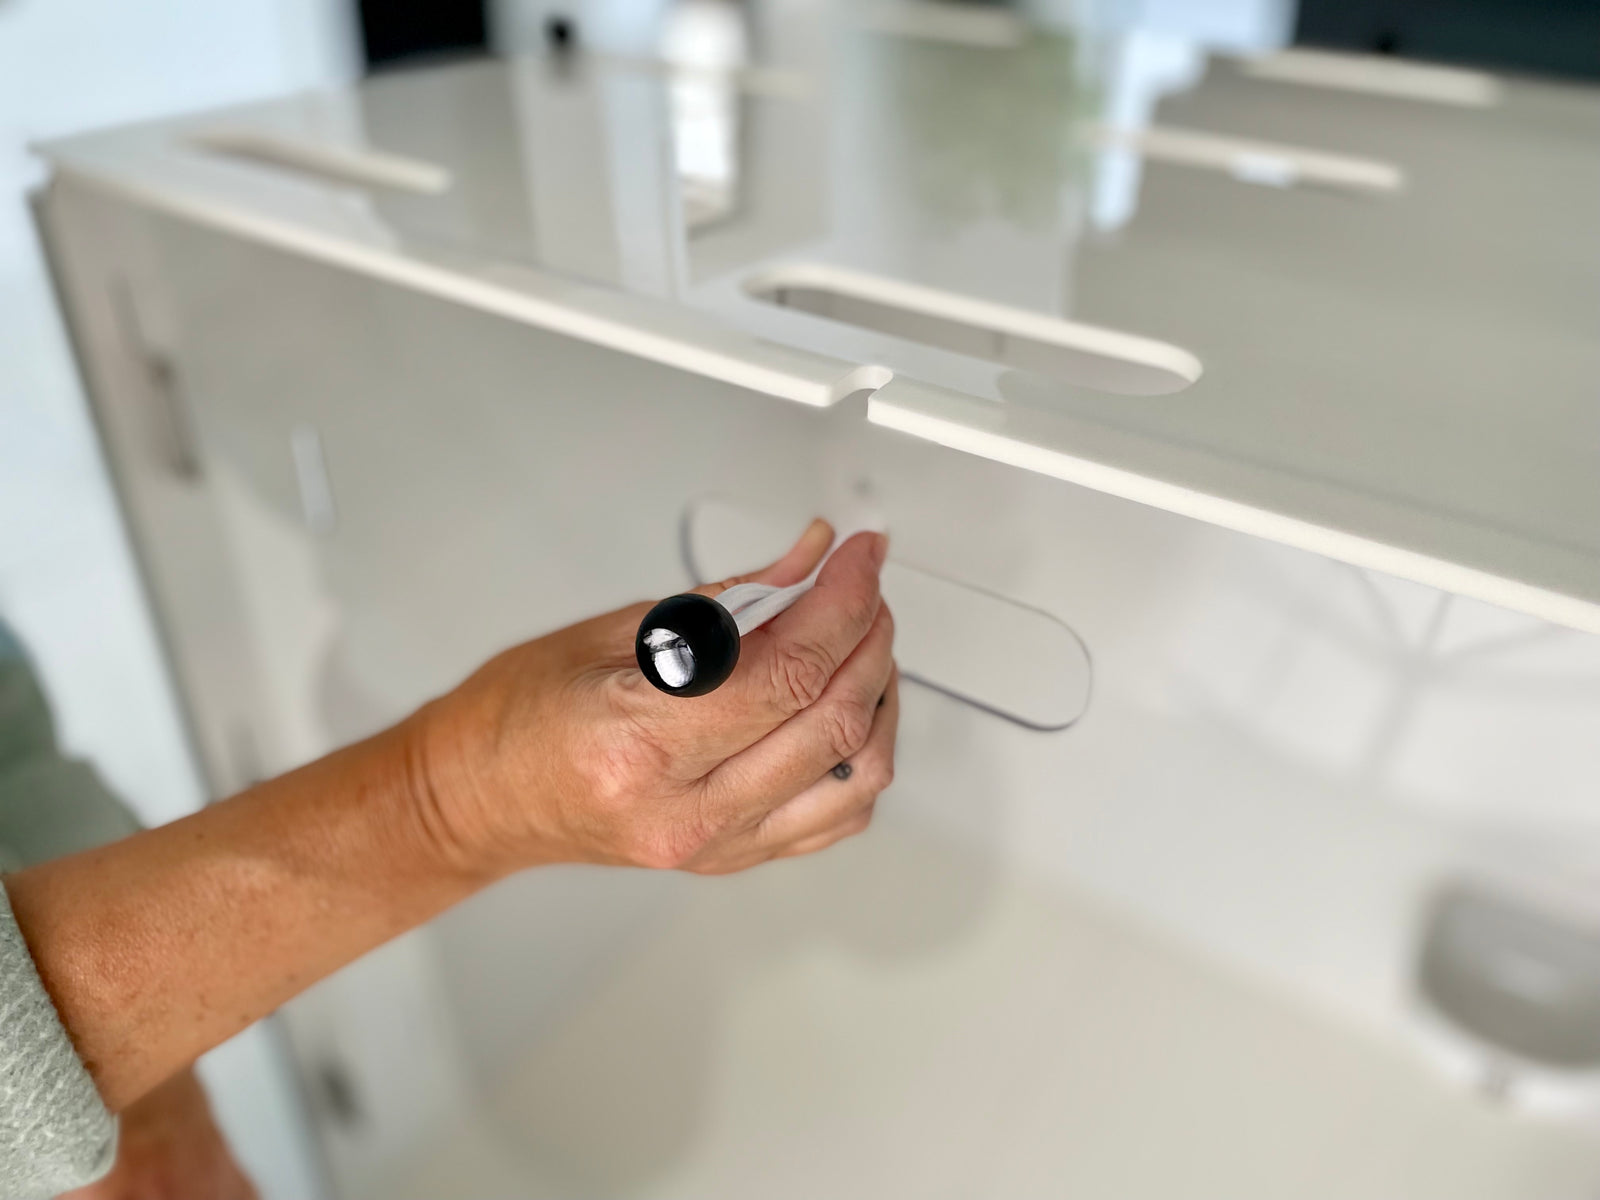
Pass the supplied bungee balls through the holes at the top of the vertical panels and tighten. Pull the balls upwards through the slots in the top panel to secure it. To remove the top, lift each ball outwards.
Install Doors
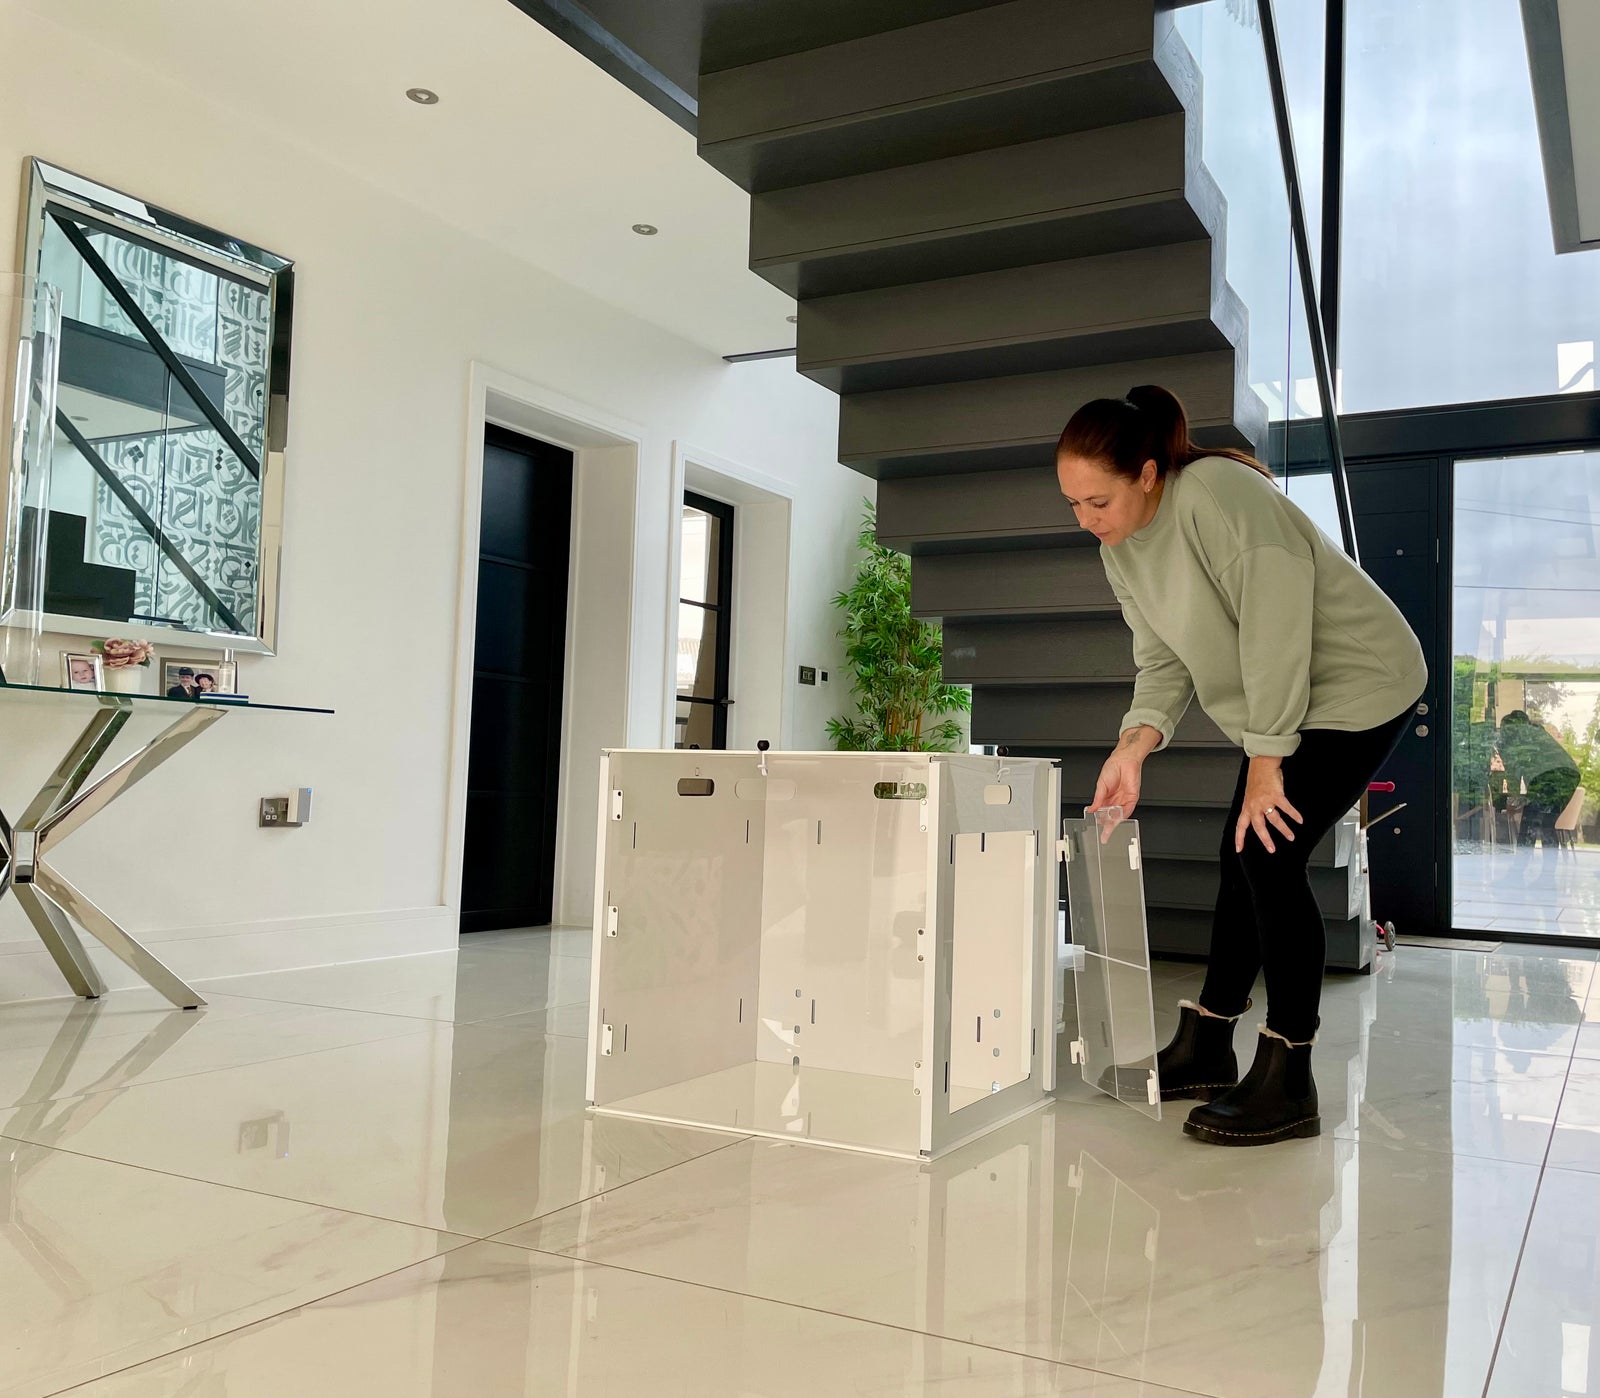
Fit the doors by aligning the tabs with the slots and pushing down to lock into place.
Window Design
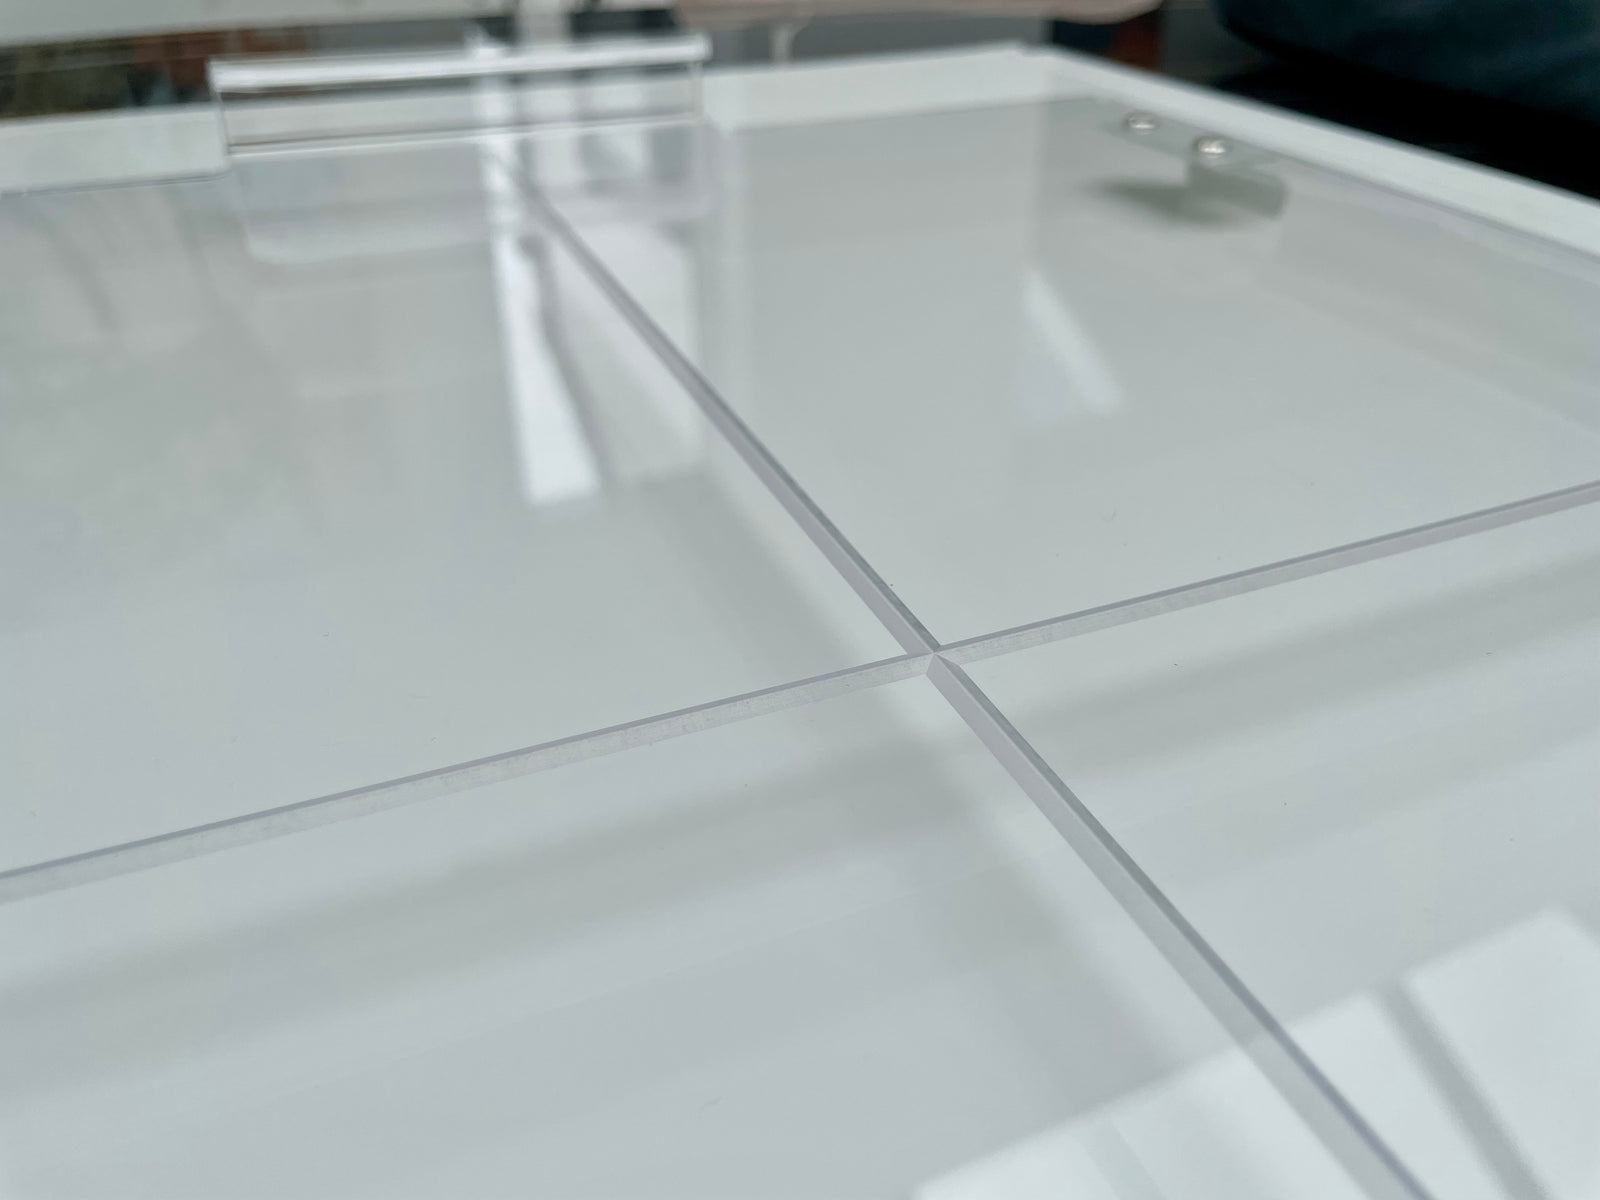
The grid window design ensures your pet can see whether the door is on or off and prevents squashed noses.
Door Options
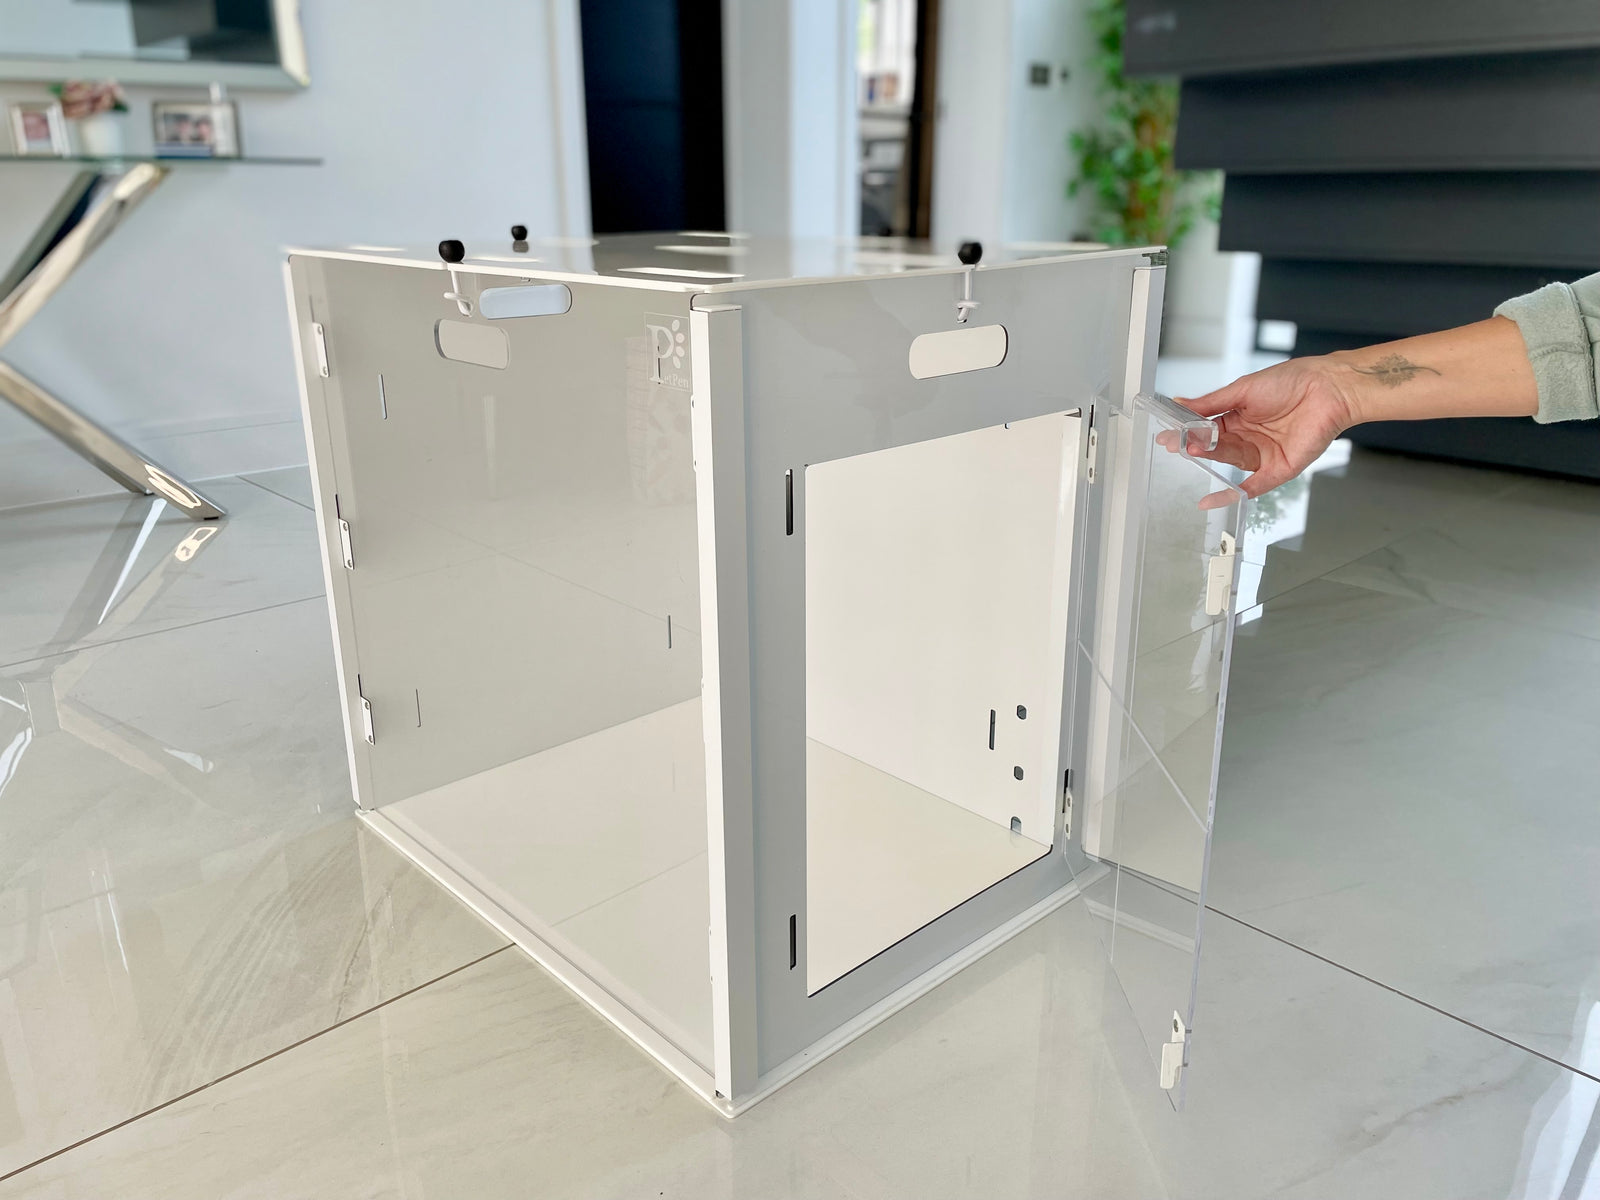
a) Hook the door into the slots to keep your pet safely inside.
b) Leave the door off for your pet to go in and out freely.
c) Insert tabs into the side slots to hinge the door from your preferred side.
Disassembly
1. Reverse Steps: Disassemble your PetPen by following the assembly steps in reverse order.
2. Easy Storage: Once disassembled, store the panels vertically to save space.
*Caution - Never place your PetPen in direct sunlight*
*Do not sit on or place heavy objects on top of PetPen*
Space-Saving Tips
1. Vertical Storage: Store the PetPen panels vertically behind furniture or in a wardrobe.
2. Secure Handling: Use the built-in handles for safe transportation and consider adding cable ties for added security.
